

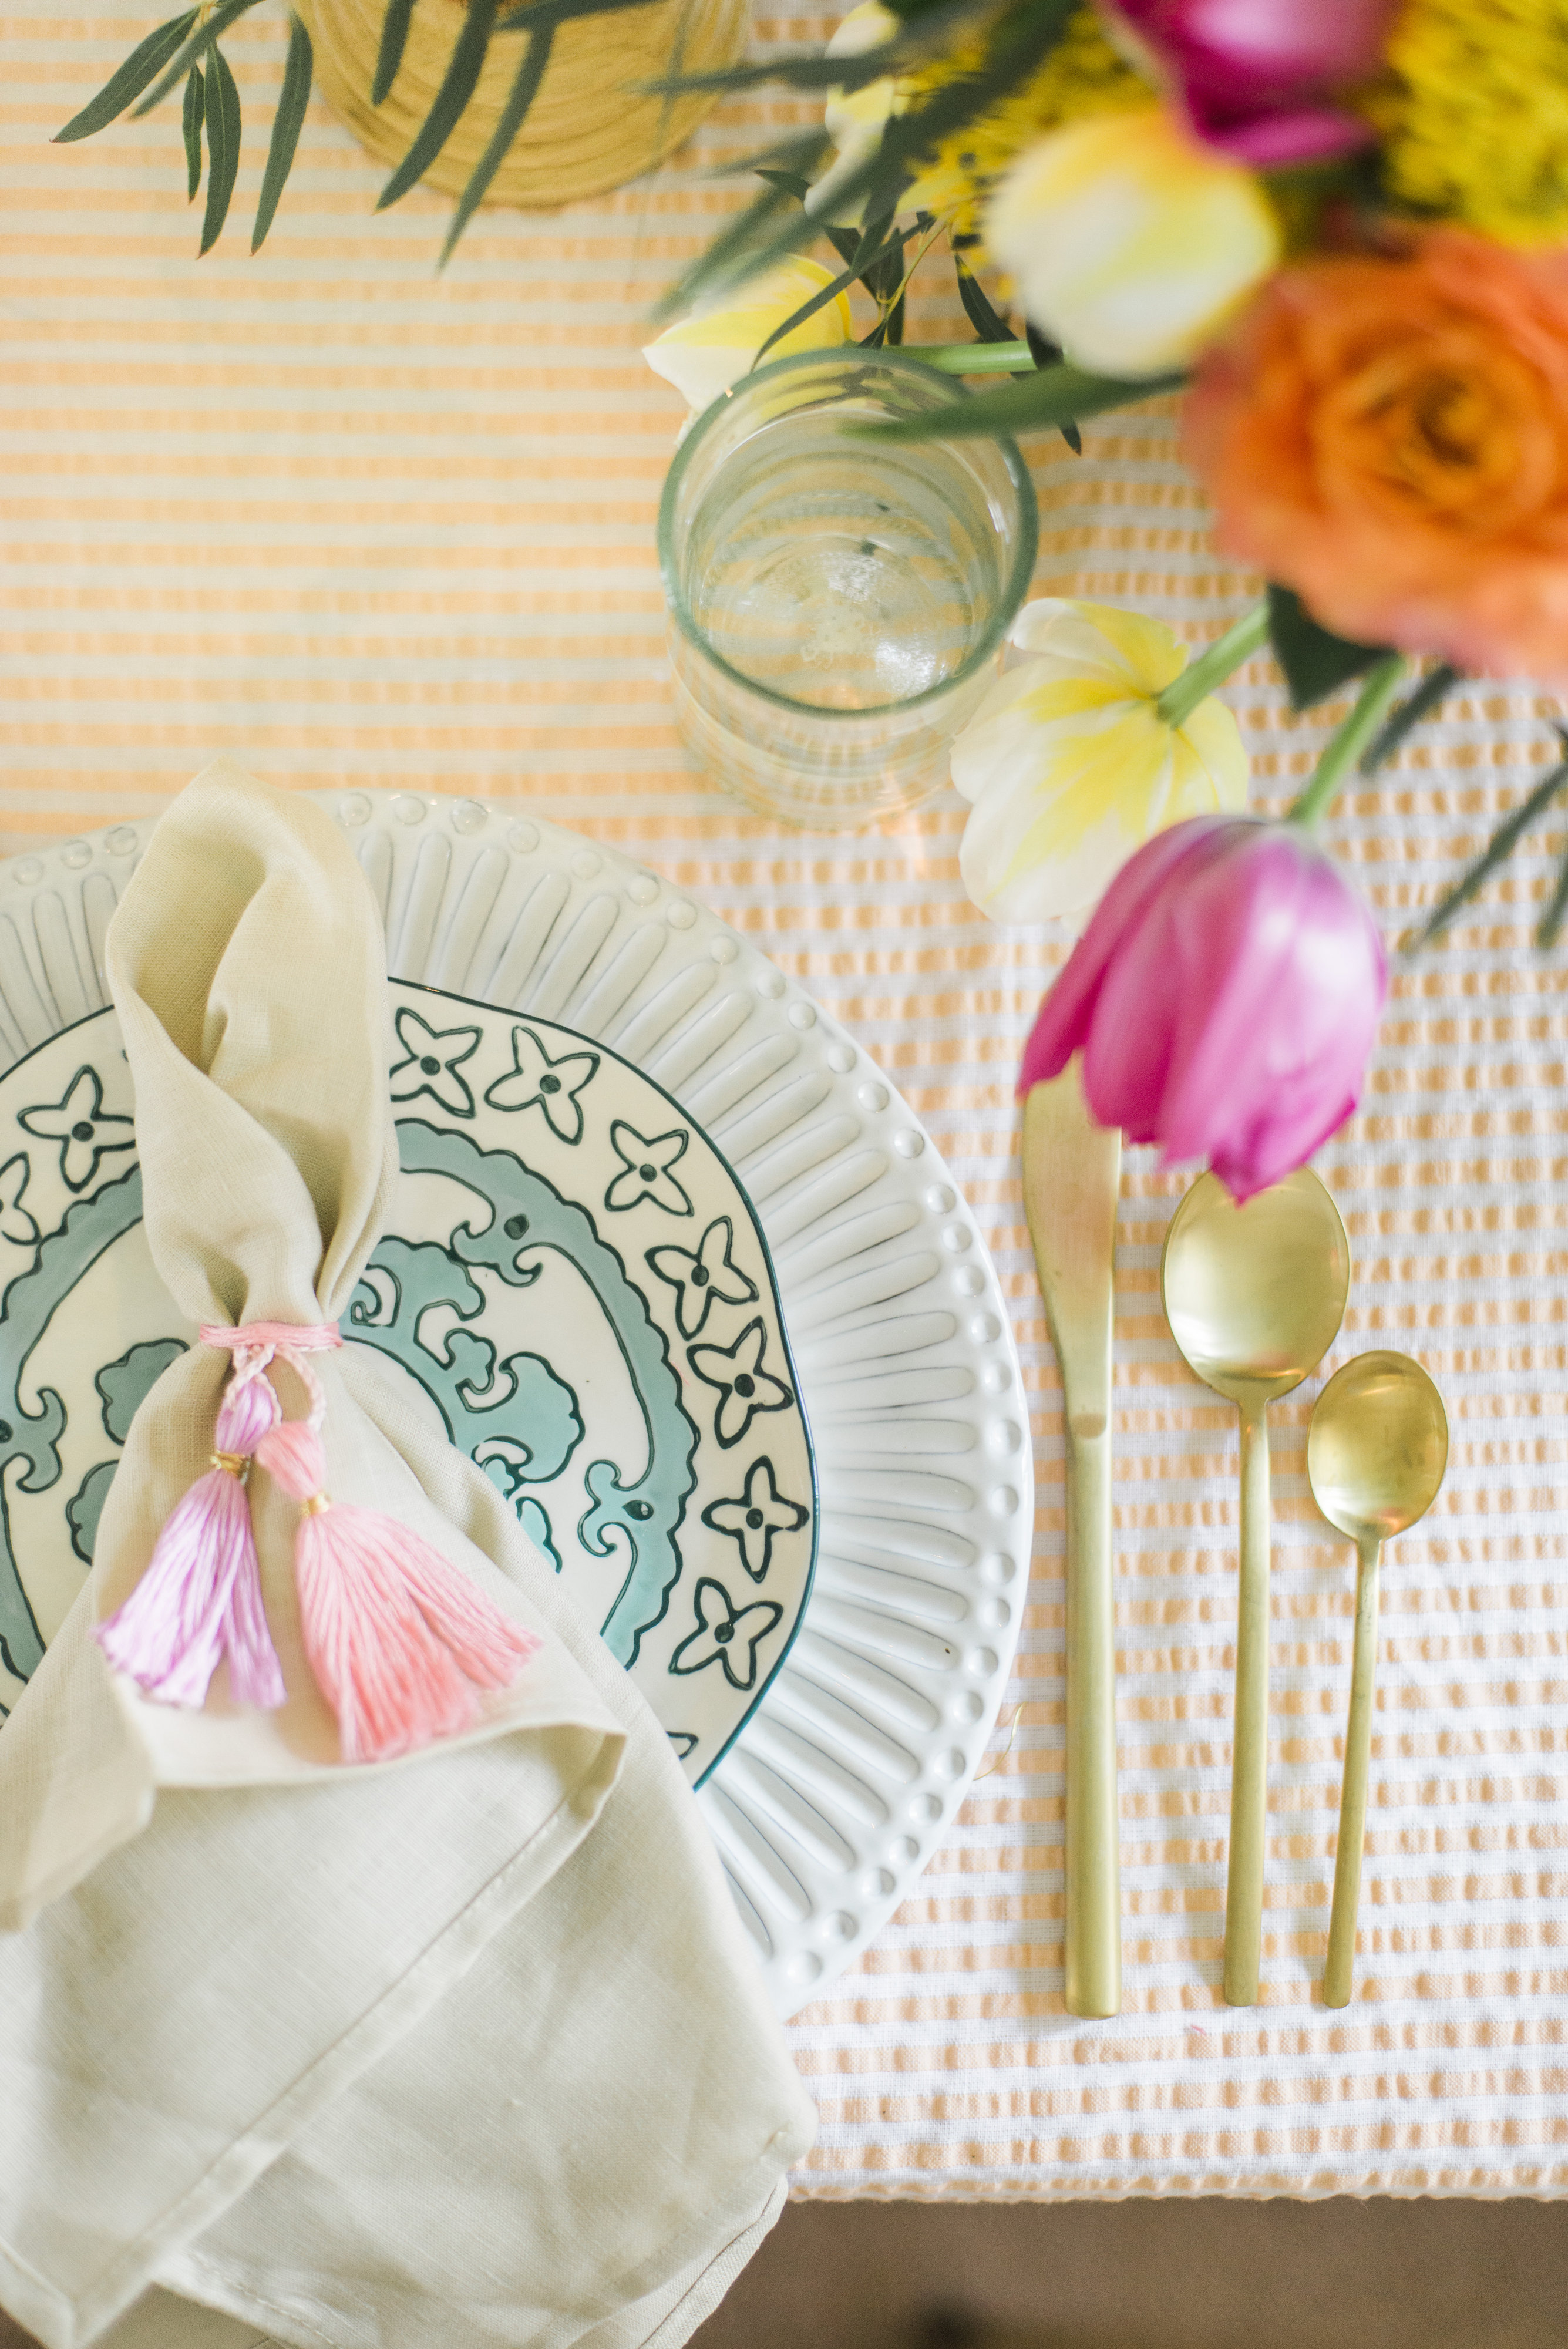
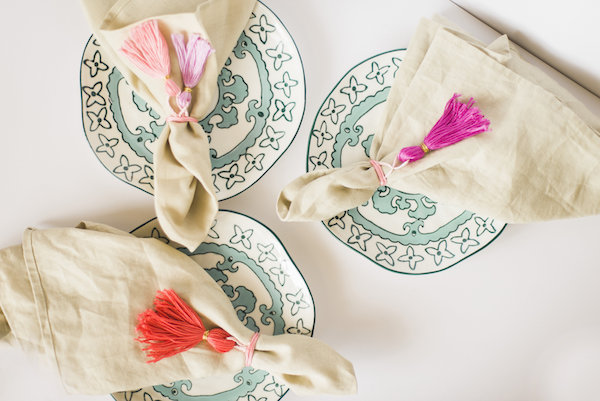
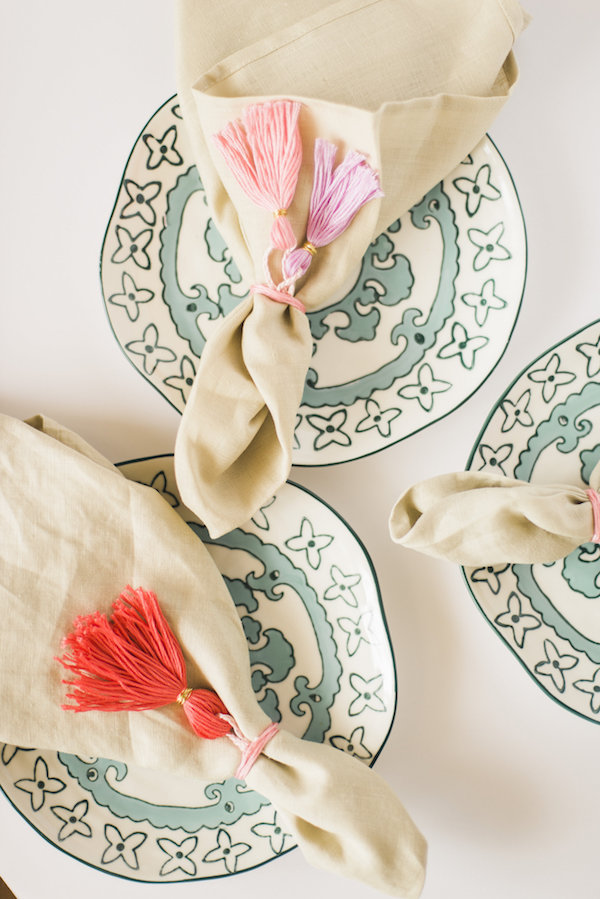
Like most of my DIY’s this project is prettttty simple! I don’t have step-by-step photos for these little napkin tassels so hopefully my directions make sense! Feel free to leave a comment if you have any questions. I created this tablescape for a post on Glitter Guide (see the full shoot here) and have been wanting to DIY tassels for some time, I deconstructed these and am going to use them to make a necklace next!
DIY Napkin Tassels
Supplies
Embroidery thread
Scissors
Thin gold wire
Directions
1. I’m pretty lazy when it comes to DIYs, so I removed the wrapper from my individual embroidery threads and decided how long I wanted my tassels to be – I did a variety of sizes, some were the equivalent of 1 pack of embroidery thread trimmed an inch and the others I just cut the embroidery thread in half. Basically you’re looking for a folded set of embroidery thread, you can lay out the thread and fold it yourself, or simply just use the folds which are created for you with the way they are packaged. Hopefully this image of embroidery threads will help this make sense!
2. Once you have your folded embroidery thread cut to the desired tassel length place a pencil in the fold or what will become the tassel hole. Using the same color thread tie a very tight double not to create the loop of your tassel. The pencil helps hold the shape for you. Trim the ends of the knot as close as you can get to the tassel.
3. Cut 3 inches of thin gold wire and wrap it around the base of the tassel – covering your knot completely.
4. Attach a thread to your tassel to create a loop so you can tie it to a napkin ring. You can use the same embroidery thread, a different color or a different string all together. I braided embroidery thread to create my loop.
5. Attach your tassels to napkin rings – these can be pre-bought, or just ribbon, twine etc. Just keep in mind you want something easy for your guests to remove. Use a little hot glue to attach your tassel to the backside of the ring.


DIY Tassel Napkin Rings
VIEW THE COMMENTS