

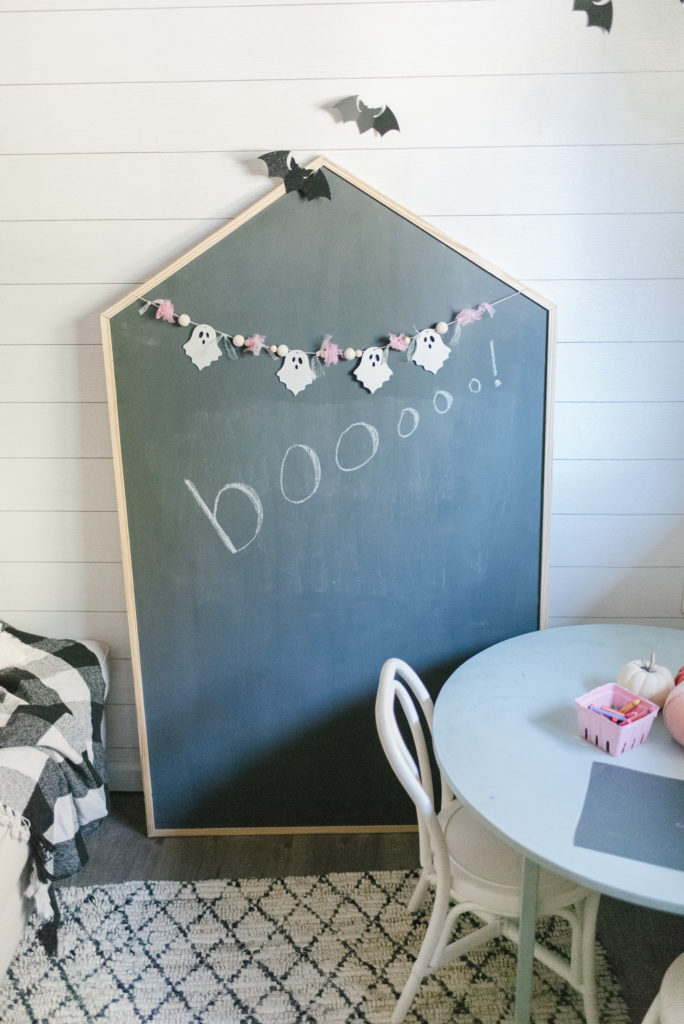
I shared this easy DIY garland on Instagram last week and wanted to get it up on the site so you can use at as reference in the future, too!
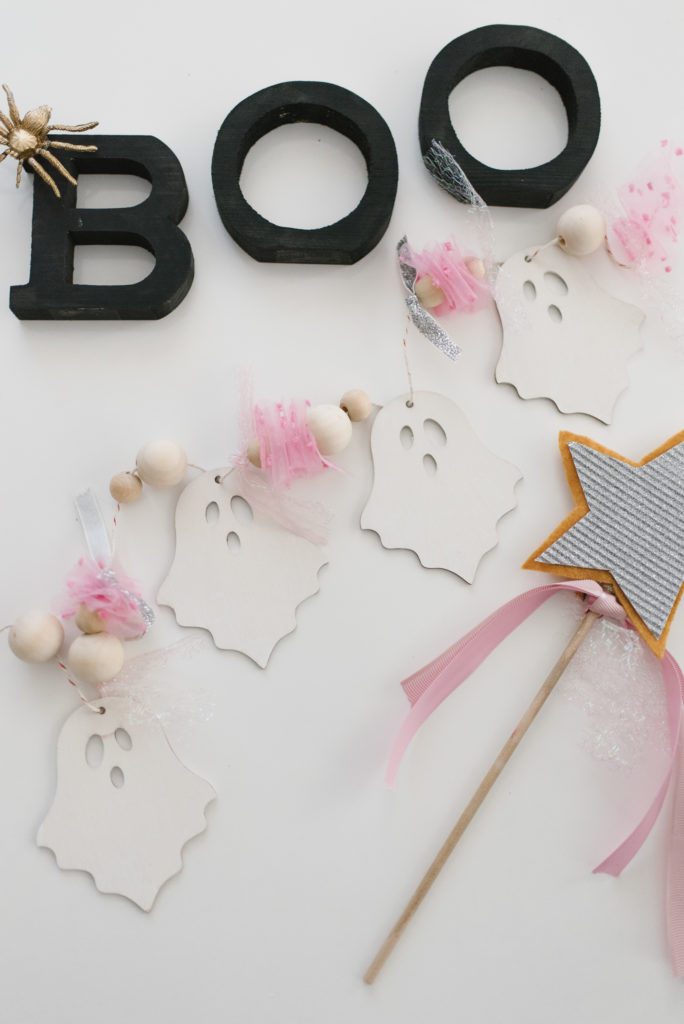
I picked up the little wooden ghosts at either Dollar Tree or Joanne Fabric’s. Both have them – and I’ve also found them on Amazon here!
You can get super creative with this garland!! Paint your beads (or use colored beads), tie on pieces of fabric or ribbon, get fun with the colors. Really, the options are limitless. You can also use a pre-made garland and tie the ghosts on that (there are a ton on Amazon).
Supplies:
Thin twine cord
Needle
Wooden beads
Pieces of decorative/sparkly/fun fabric cut into strips about 6 inches long
Wooden ghosts
Process:
1. If you’re going to paint your wooden ghosts or beads, do so now and let them dry.
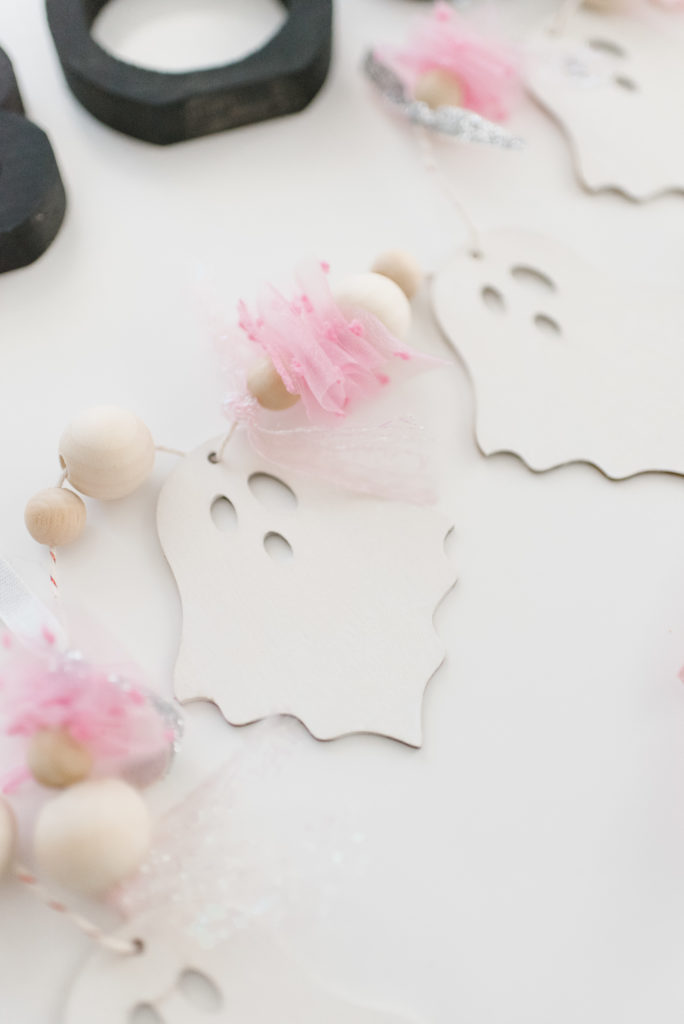
2. Lay out your pattern before you start i.e. wooden bead, ribbon, sparkly ribbon, ghost so it’s easier to put them on.
3. To attach the ribbon you’ll want to fold it into an accordion and use a needle to pull your twine right through. Place it where you want to and then pull it out to make it look how ‘poufy’ you’d like.
4. You’ll want to use the little twine ties that came with ghosts to attach them so they hang freely and dangle. I MISSED this step and had already sewed all my fabric on so I’m making do as-is but you’ll definietly want to tie the ghosts onto the main twine cord!
Check out our Halloween shop here!


DIY Ghost Garland
VIEW THE COMMENTS