

Today we have our first craft submission from Emily of Making It With Mommy who I love to follow on Instagram! She does the best activities with her little one. I can’t wait to try this DIY project today (giving it a Valentine’s Day twist). I hope you enjoy and if you do this with your kids be sure to share on Instagram!!
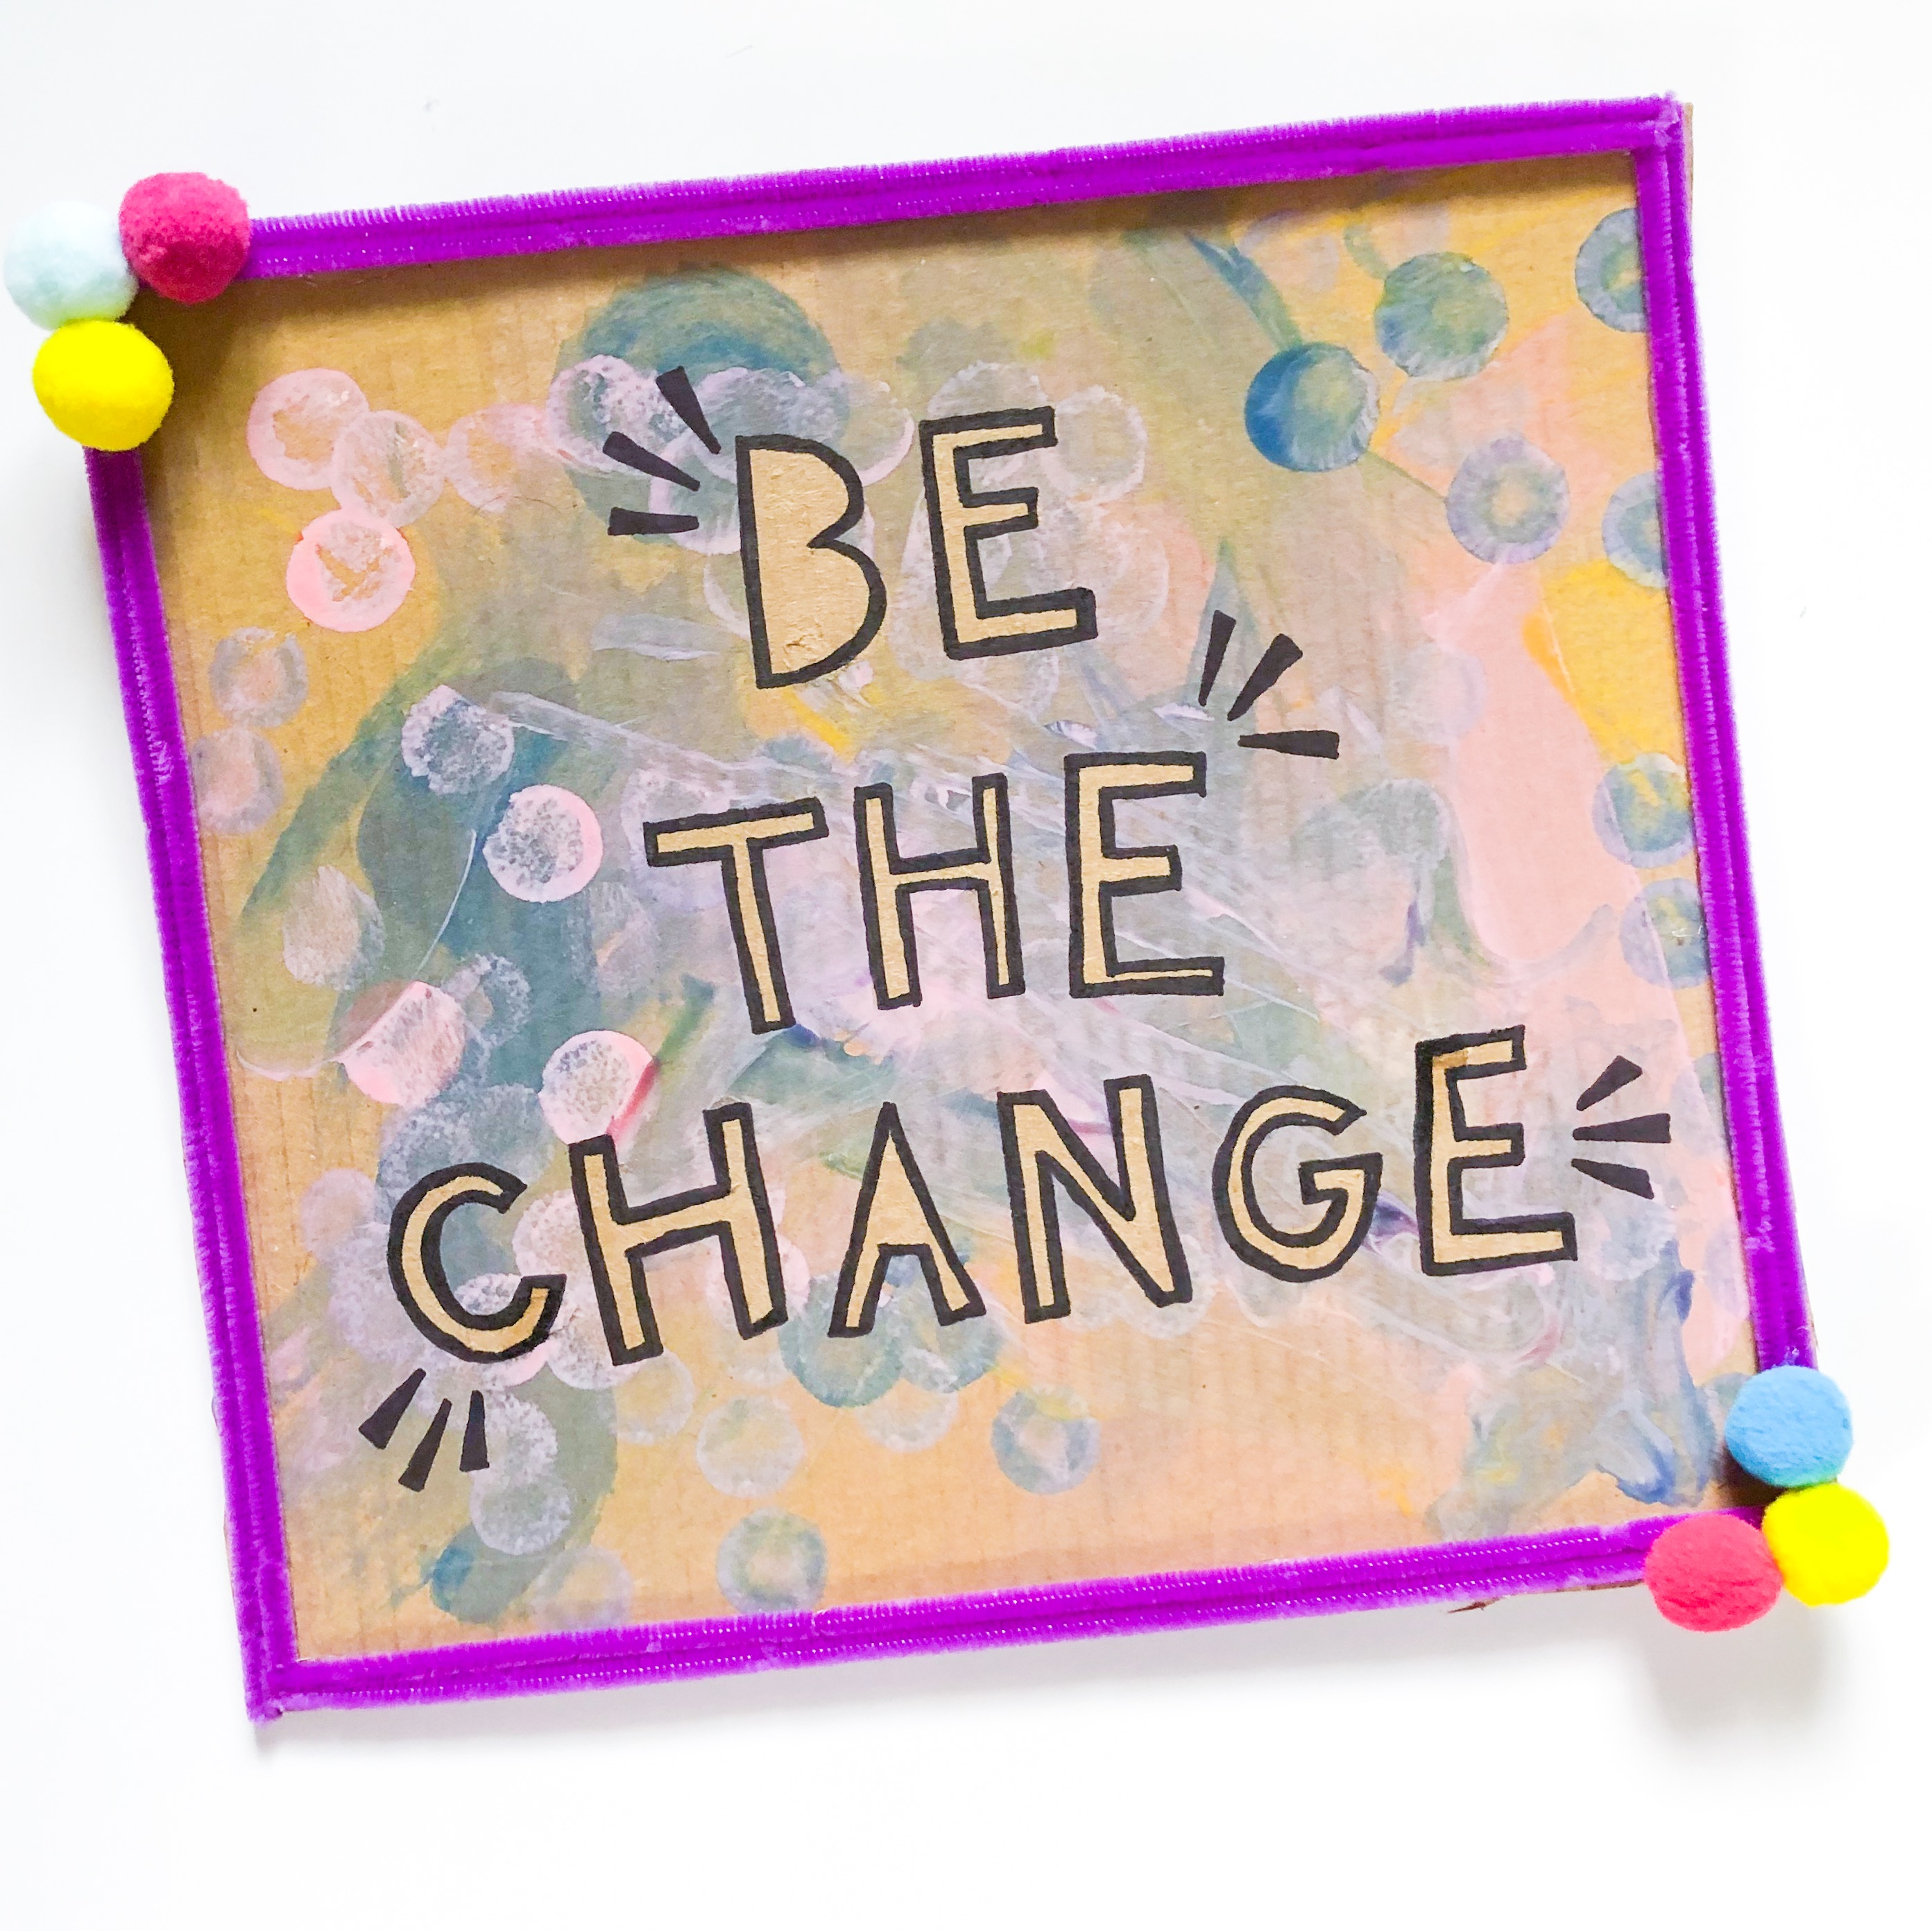
Hello! My name is Emily and I create kid art ideas alongside my 2.5-year-old helper, O. We worked together to create this “Be the Change” art piece using a tape-resist method. Tape-resist art is an amazing way for your child to create unique art pieces that will grow with them for years to come! Your kids will do a lot of the work for this project themselves. Allowing your kids to take control and ownership over their art is the best way to help them grow creatively! Read below for step-by-step instructions on how to put one of these together.
Materials Needed:
1 large piece of cardboard
Blue painters tape
Permanent marker
Scissors
Paint (you can choose between washable, tempra, or even acrylic)
Paint brushes and or stamps
Hot glue gun
Pipe cleaners
Pom Poms
How To:
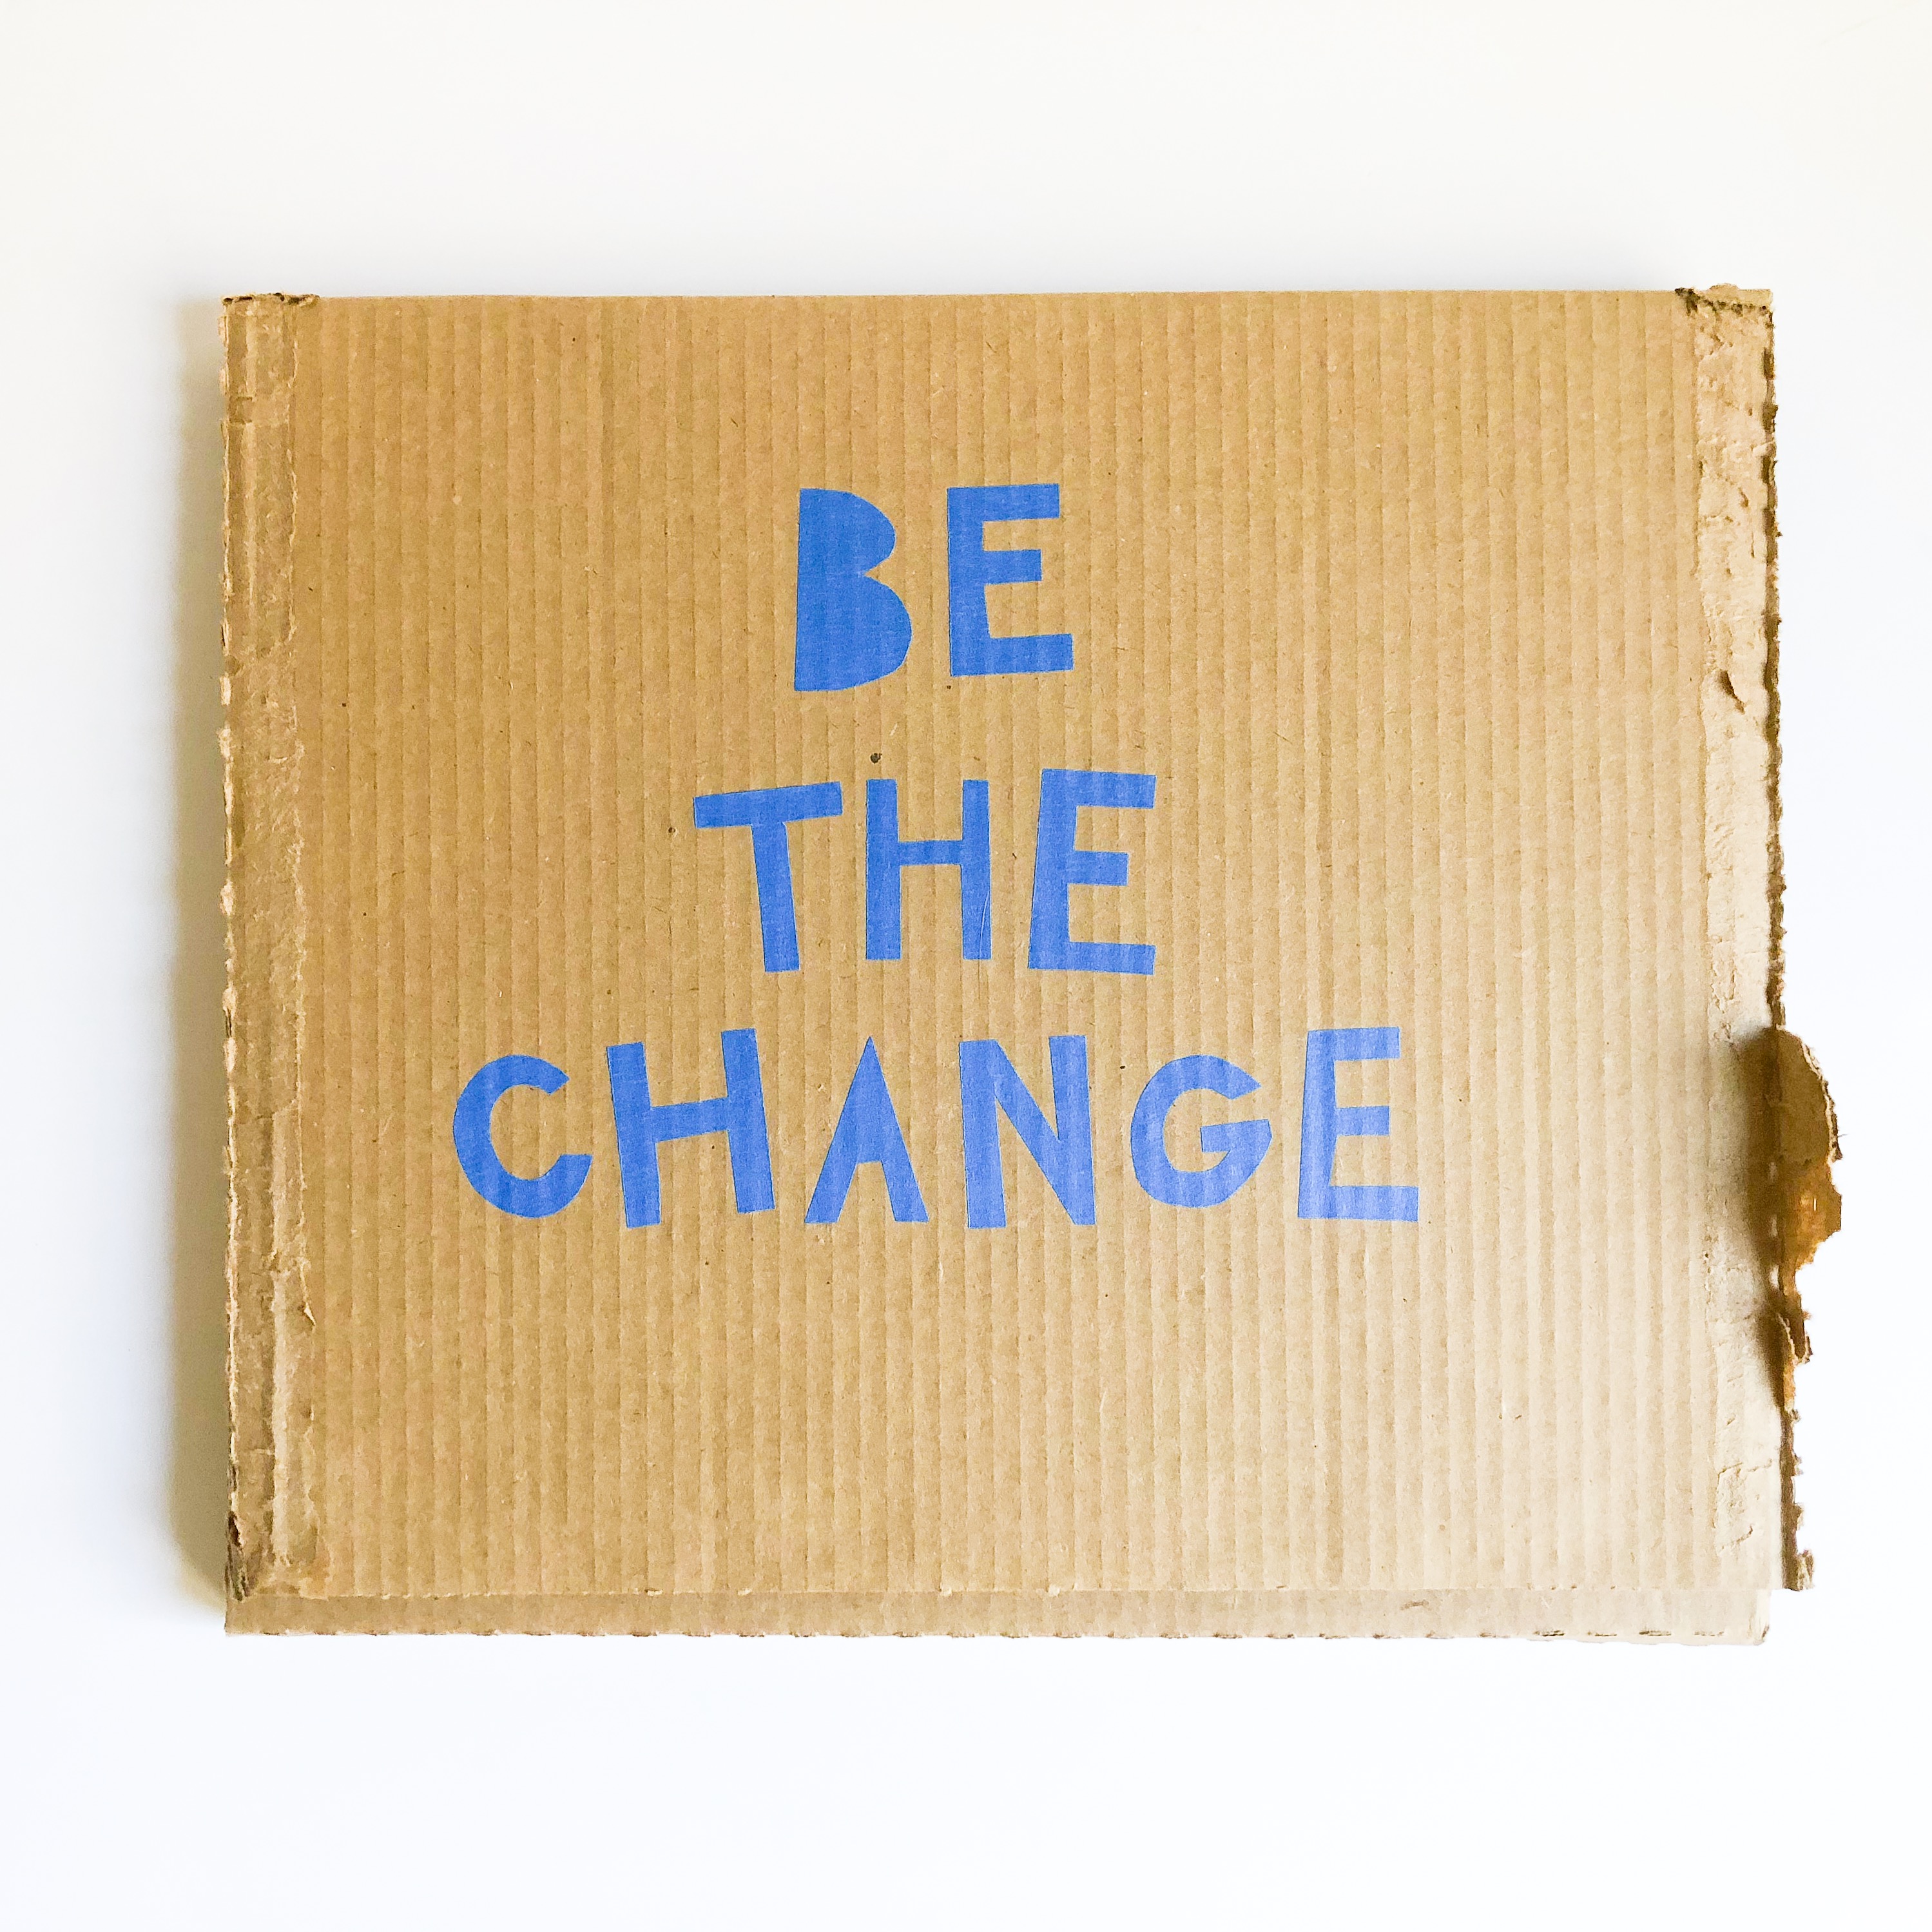
Step 1: Determine what you would like you art to say! You will use your blue tape to create the letters of your phrase.
Step 2: Cut off a section of blue tape roughly 2-3 inches long. Use your permanent marker to draw a bubble letter onto the tape. Cut out the letter. Continue until you have created all of the letters from your phrase. **Tip: For letters with cutouts on the inside (like B and O) I left the middle solid! It is challenging to cut out small interior shapes.
Step 3: Place your tape letters onto your cardboard to create your saying. Press firmly once you have them all in place.
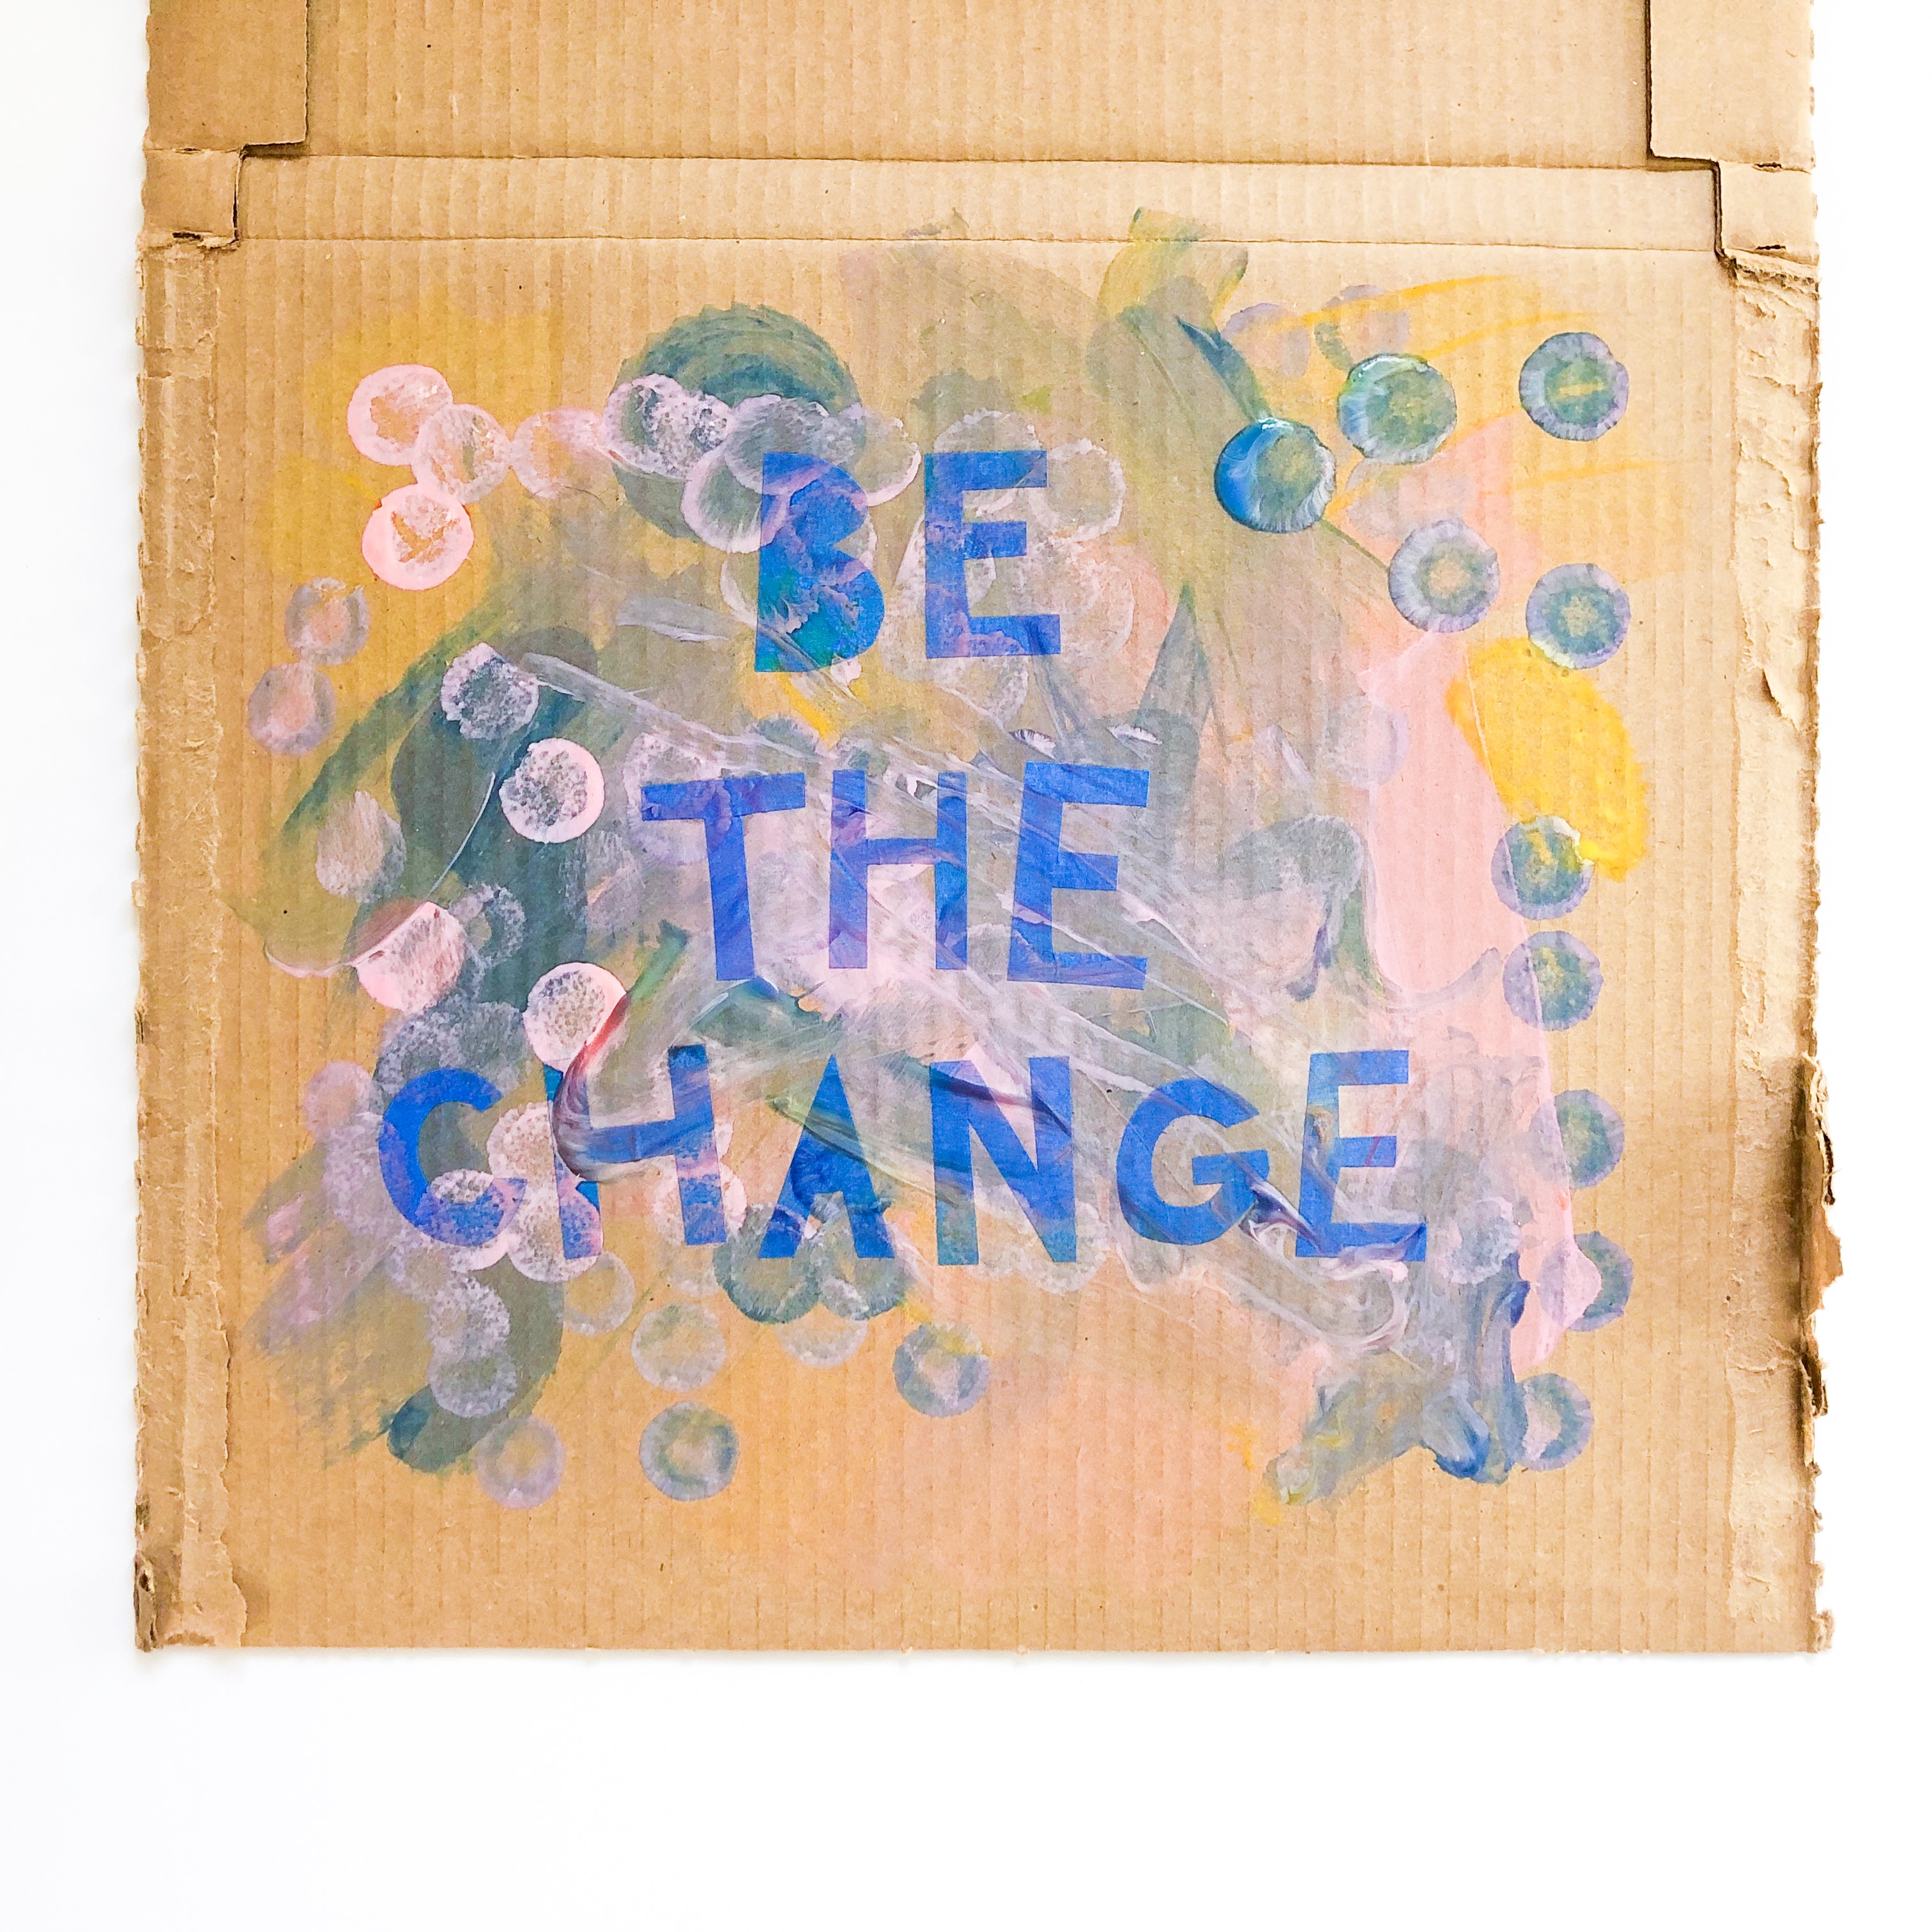
Step 4: Set up an area where your child can paint! Have them choose 3 or 4 colors of paint they would like to use. Provide a variety of brushes and stamps and let them go! They can paint over the tape letters and all around the cardboard space. We call this “free painting” in our house and O loves it! We used washable paint on ours, but if you are looking for brighter colors, you will want to use either tempera or acrylic (though note these do not wash out of clothes!).
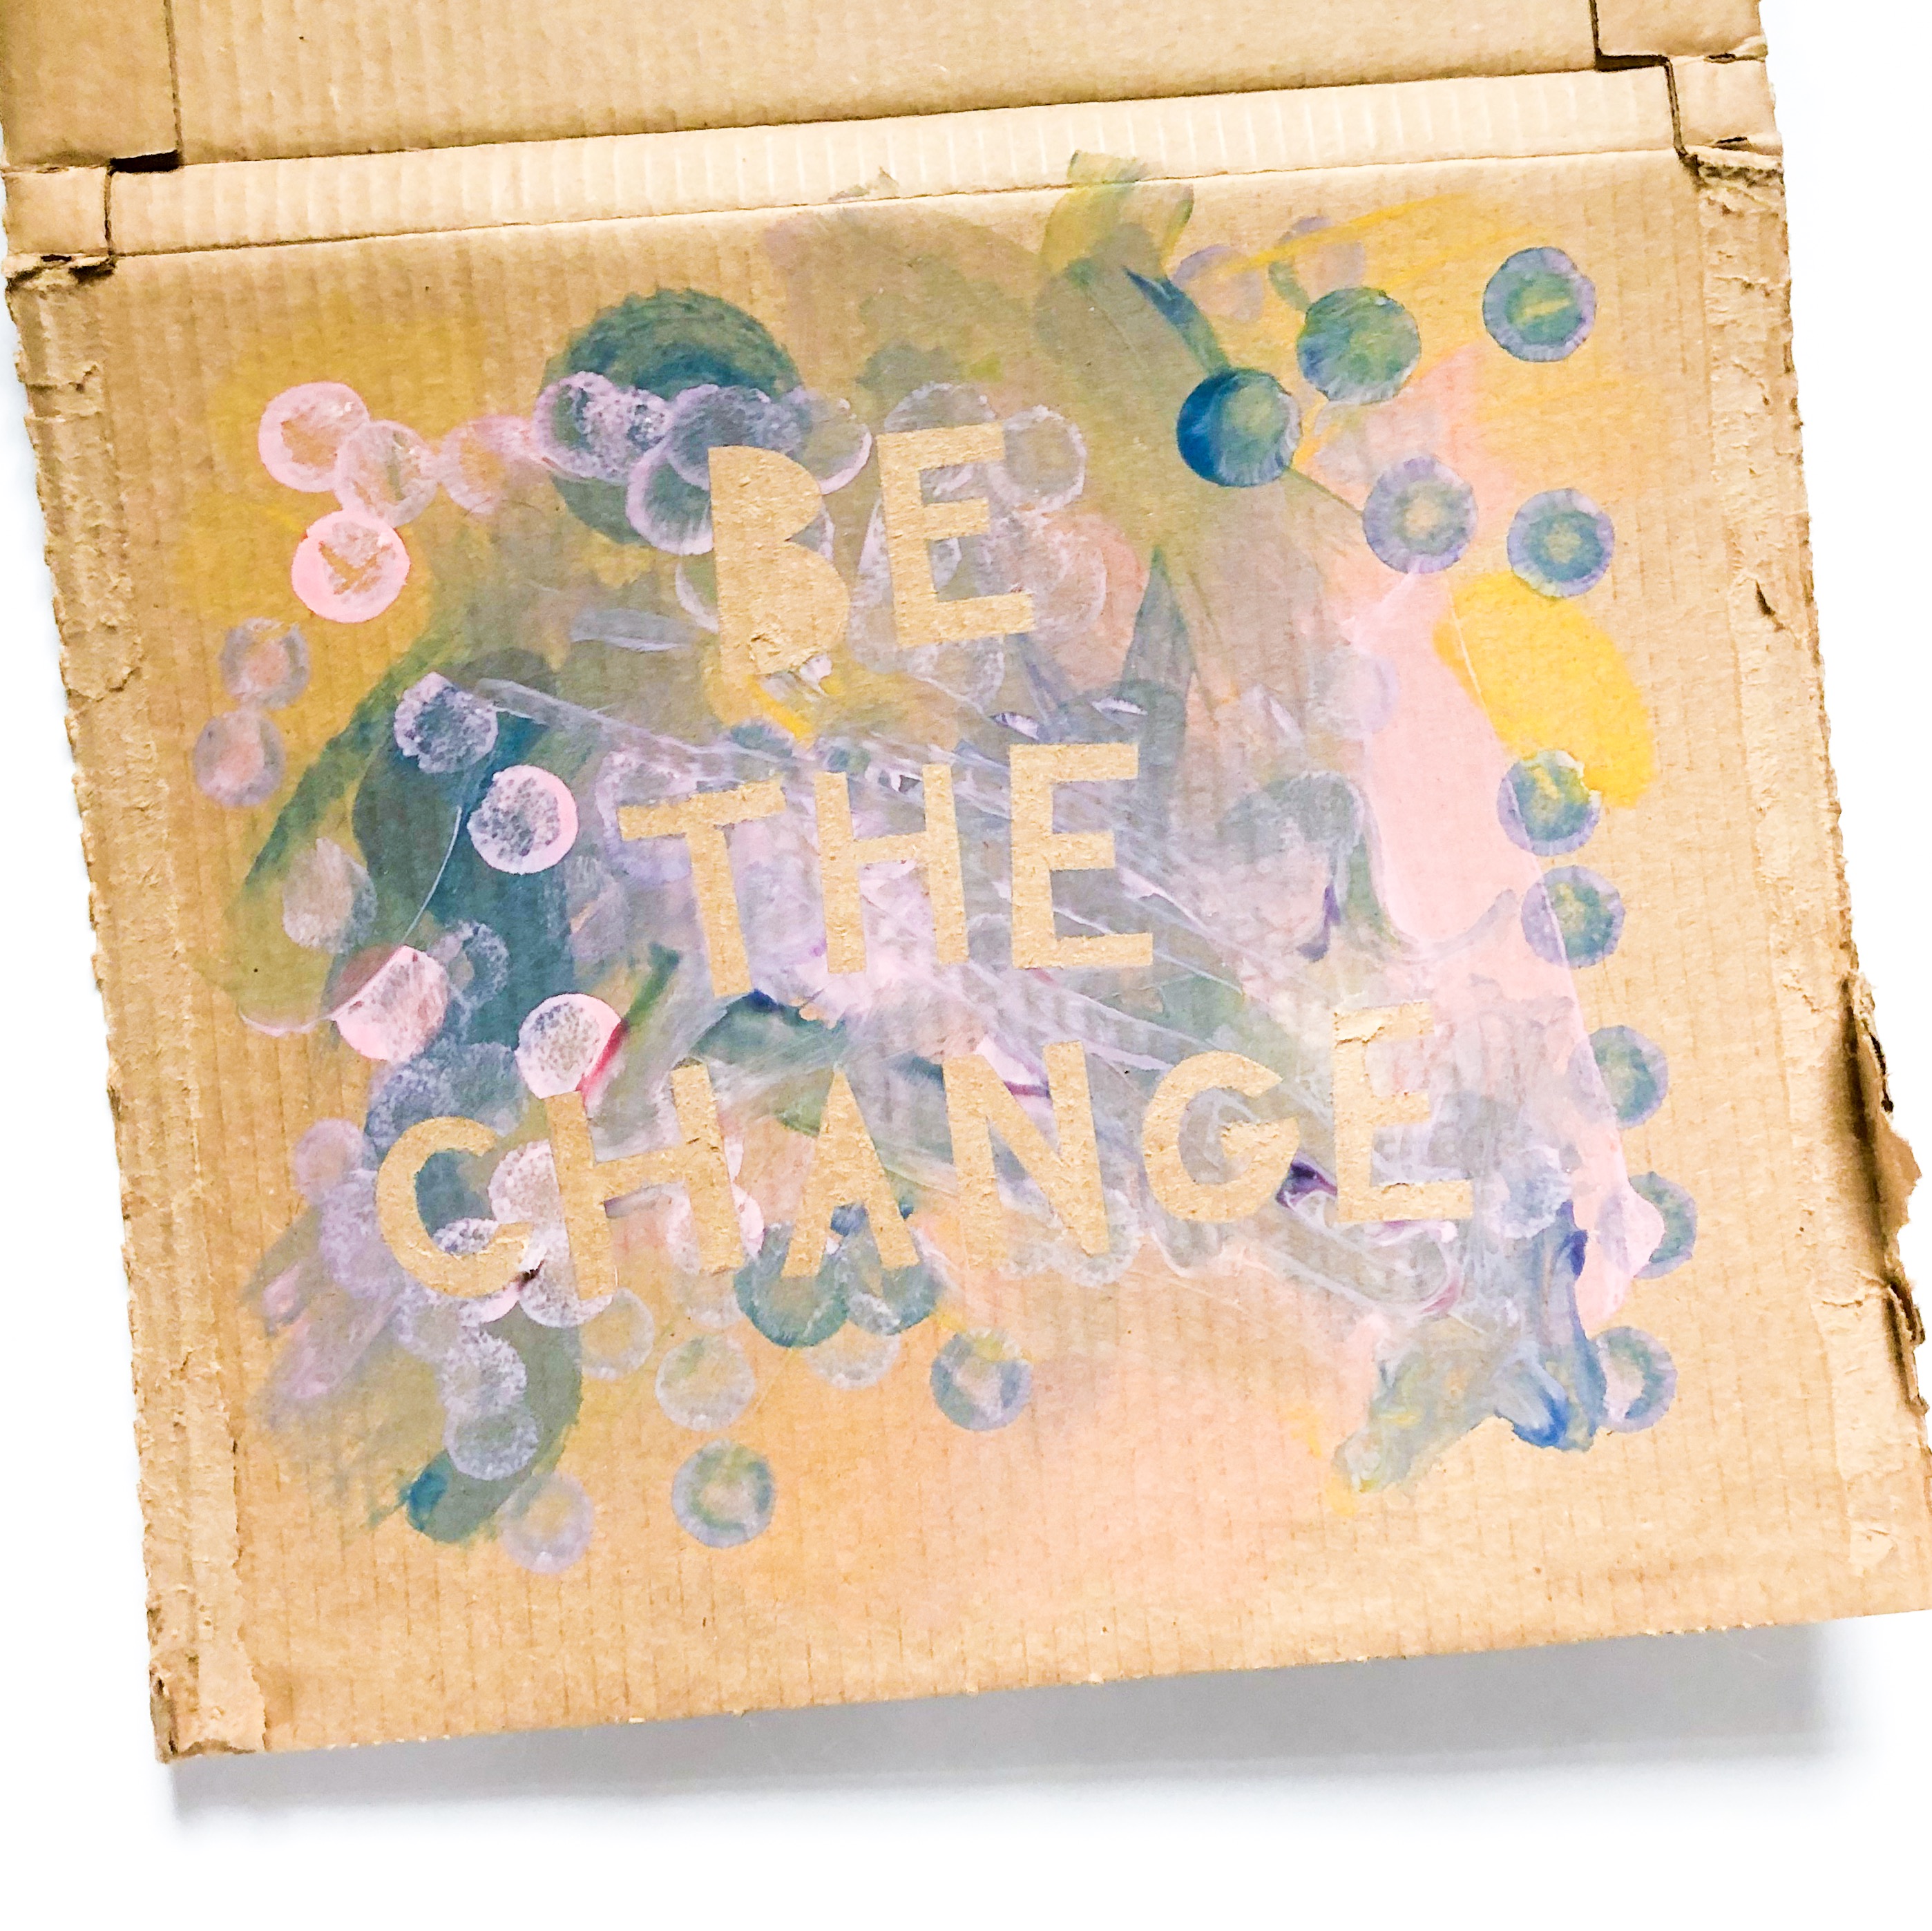
Step 5: Once the paint is dry, gently peel back the tape letters to reveal plain cardboard underneath! I then outlined the letters with a black permanent marker to make them pop.
Step 6: Use pipe cleaners and your hot glue gun to glue a frame around the outside of the cardboard. Glue the pipe cleaners directly onto the outside edges. We also glued some pom poms on two corners of our for fun!
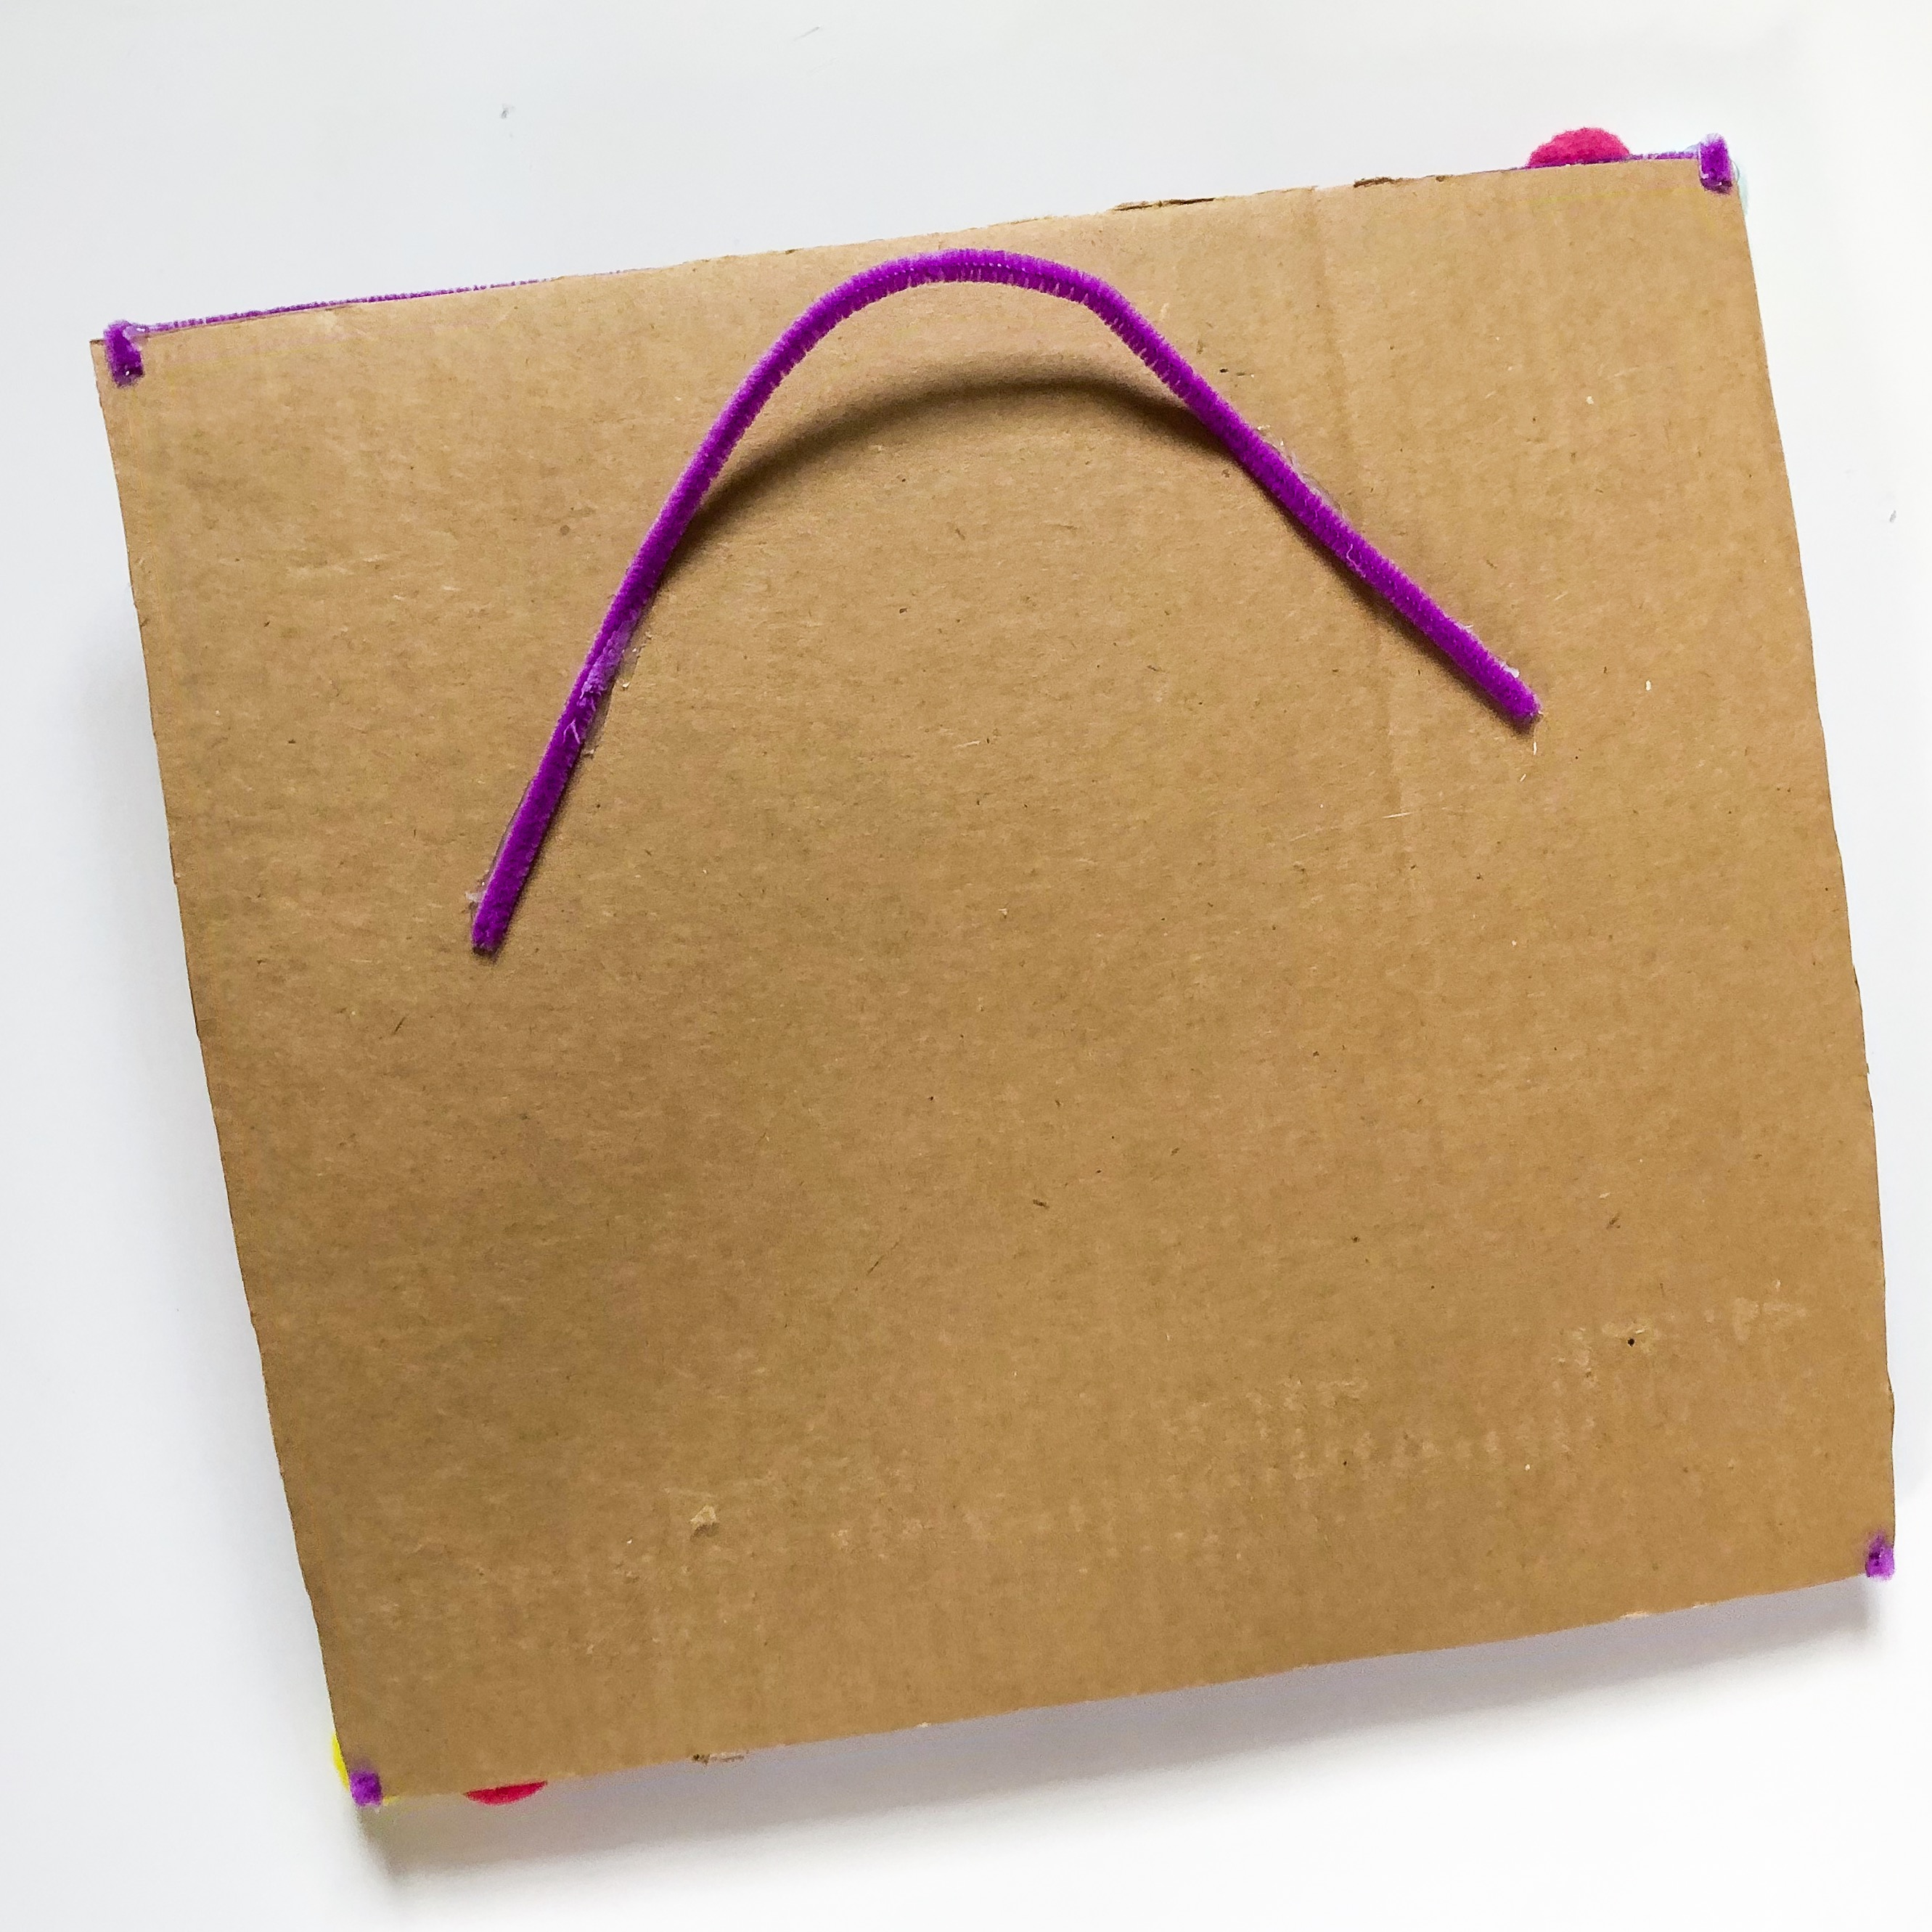
Step 7: If you want to hang your child’s art, you can use another pipe cleaner and hot glue to glue a hanger onto the back of the art piece. Put glue on the ends of the pipe cleaner and glue it to the back, leaving a little space between the cardboard and the pipe cleaner so that it can hang on a nail or push pin.
This process art project is so fun for kids of any age! It is also a process that you can use to create art on any surface. Instead of cardboard, you could use a craft store canvas, a t-shirt or sweatshirt, a tote bag – the options are endless!
If you are interested in more arts and crafts ideas, you can follow us on Instagram @makingwithmommy, or visit our blog www.makingwithmommy.com


Tape Relief Toddler Craft
VIEW THE COMMENTS